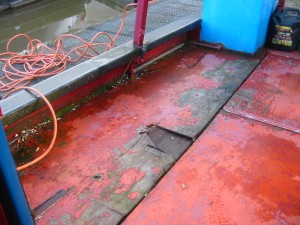
Last weekend Nick and I headed up to the boat to do some work on it. The deck boards on the boat are made out of plywood and they get wet and once water gets in on the cut edge they start to break down, and the starboard deck which is the one that we use a lot to get on and off the boat (and also gets more water running over it) had gone a little mushy and was starting to fall apart:
The last thing we wanted was for someone to jump onto the back deck at a lock and go through the deck into the engine well so we’d decided to replace it. The decks have been replaced twice since the boat was launched in 1986 and the last time they were done was back in 2000/2001. As you might have noticed the side panels aren’t square and cutting a piece of ply that big to that sort of shape isn’t easy, and its not cheap to buy either!
So we’d discussed alternatives and decided to go with timber planks which had been pressure treated against rot. There were several reasons for this:
- Hopefully they should last longer than ply
- They would be cheaper as ply, or no more expensive
- Its easier to cut one plank to the odd taper than a sheet of ply and it if goes wrong then you’ve only wasted one plank.
- A solid cut edge will be less permeable to water than the cut edge of the ply
- Easier to repair, if a plank gets damaged we can simply replace it.
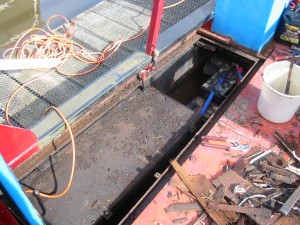
So we went to Wickes and spent about £60 on timber planks and beams and screws, bolts and brackets and early on Saturday morning we took a screwdriver, our trusted Dunlop tyre iron and our hands to the old deck and ripped it up exposing the top of the starboard fuel tank and the batteries:
The first thing we did was clean the piles of grit blast off the top of the tank – it gets everywhere and my recommendation to anyone is DONT ever grit blast your boat unless you want to be finding the stuff for years.
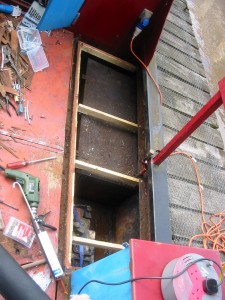
Once we’d done that, and had a coffee, we put wooden beam down the side of the drain channel and then built a timber frame up which would provide support for the planks. We had to do this slightly differently than the way we’d planned it in our heads because we couldn’t remember just how things were arranged under the deck, but the principle was the sane:
Then it was a matter of cutting each plank to length and fixing them in place with lots of screws and lots of frame sealant to stop water creeping through it:
As the sealant needed to cure and as it was now late afternoon we called it a day, got cleaned up, had something to eat and headed off to the pub.
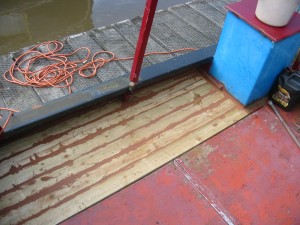
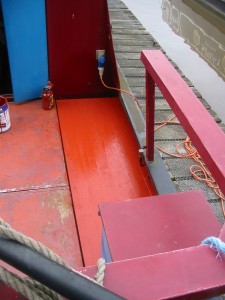
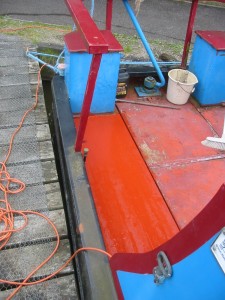
Sunday morning we got up early and we took some floor paint which we diluted to make it easier to apply onto the raw wood and we painted the deck:
What these last two photos show is that the two middle deck boards really need replacing next. As these two are the ones that sit over the engine, and have to be lifted to check the oil and coolant and to access the weedhatch and sterngland, we’ll probably use ply wood for these two but we might put a cross strut on the bigger board to stop it flexing as much as it does. The other side deck is slightly more complicated because its got the fuel filler hose and the control panel on it. But now we pretty much know what to do we know that its another days work for the side panel (and we have all the timber we need for that) and other one for the middle panels

